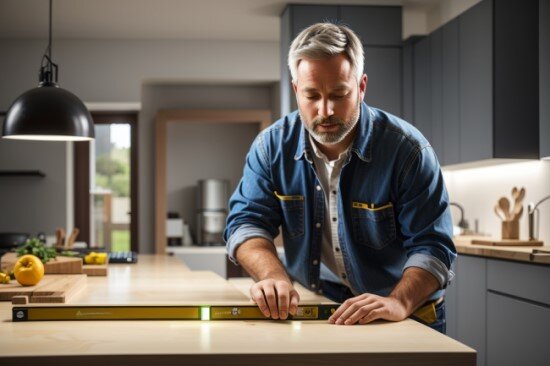
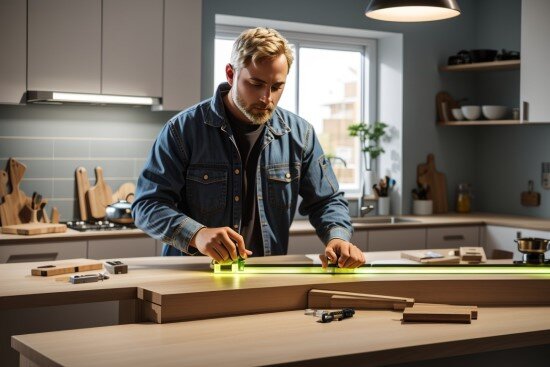
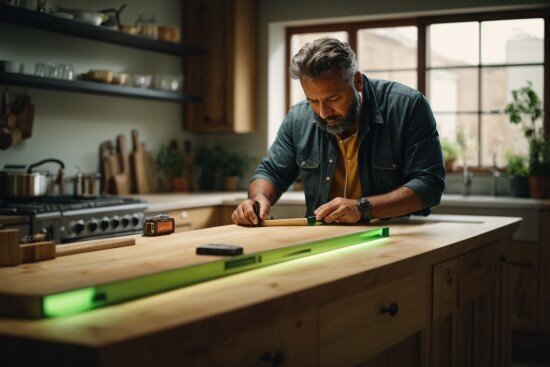
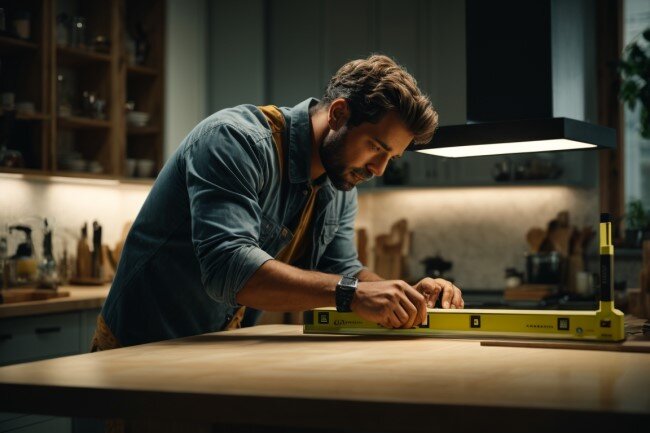
In the world of DIY, precision is key. Whether you’re building a bookshelf, installing a new door, or tackling a major renovation project, having the right tools is essential. One tool that often gets overlooked but can greatly enhance the accuracy of your work is the digital level.
In this article, we’ll explore the question: “What is the best size digital level for DIY?” We’ll break down the options, provide real-life examples, and help you make an informed choice.
Contents
Understanding Digital Levels
For any DIY enthusiast looking to improve their skills, a digital level can be an extremely useful tool. But why should you choose a digital level over a traditional bubble level? There are a few key advantages:
- Enhanced Accuracy – Digital levels use advanced sensor technology to provide more precise measurements compared to bubble levels. This allows you to achieve perfect horizontal, vertical or angled positioning for your projects.
- Clear Readout – With a digital level, you get an easy-to-read digital display that shows the exact angle or orientation. No more squinting to check bubble alignment.
- Versatility – Many digital levels can measure on multiple axes and planes. This flexibility helps with a wide range of applications.
- Consistency – Unlike bubble levels which can be impacted by temperature and movement, digital levels maintain consistent accuracy in different environments.

For DIYers who want professional-grade results, investing in a digital level is a smart choice. But how do you determine what size you need?
The Importance of Size
Digital levels come in a range of sizes, typically categorized as:
- Small – 2 to 6 inches long
- Medium – 6 to 24 inches long
- Large – Over 24 inches long
The length of the digital level directly corresponds to the maximum surface length it can measure accurately. For example, a 6 inch level can accurately read levels across a 6 inch surface, while a 3 foot level can handle measurements across longer surfaces.
Choosing the right size matters because:
- A level that’s too small for the surface won’t give accurate readings.
- A level that’s oversized for the task can be cumbersome to work with.
So it’s important to consider the types of projects you’ll use the digital level for most when deciding on size.
Size Comparisons: The Pros and Cons
Let’s take a closer look at the distinguishing features of small, medium and large digital levels:
Small Digital Levels:
Pros:
- Extremely portable and lightweight
- Ideal for tight spaces or small surfaces
- Less expensive than larger sizes
Cons:
- Short surface measuring length
- Not suitable for long surfaces or wide spans
- Limited features compared to larger models
Best For:
- Hanging pictures, shelves or curtains
- Installing cabinets and trim
- Tile, flooring and countertop jobs
Medium Digital Levels:
Pros:
- Increased measuring length over small levels
- Good portability and ease of use
- Often include added features like degrees/percent readout
Cons:
- Less versatility than large levels
- Not optimal for very long surface measurements
Best For:
- Installing doors, windows and appliances
- Building furniture, cabinetry or outdoor structures
Large Digital Levels:
Pros:
- Maximum surface measuring length
- Highest accuracy over long spans
- Robust build quality endures job site use
Cons:
- Bulkiness makes mobility a challenge
- Much higher cost than small or medium
- Not practical for tight areas or small projects
Best For:
- Installing flooring across large rooms
- Building decks, ramps or block foundations
- Ensuring walls, beams and trusses are level
So in summary, the ideal digital level size depends on balancing portability with sufficient length to handle your typical DIY tasks. Next, we’ll apply this to some real-world examples.
Size Considerations for Common DIY Projects
Let’s explore how digital level size factors into three common DIY scenarios:
Building a Backyard Deck
For deck building, you’ll need to check level across multiple floor joists, beams and posts that can span several feet. A small 6-12 inch level simply won’t cut it.
A medium or large digital level in the 24-48 inch range allows you to measure across joists and diagonally across the entire deck surface. This ensures the deck foundation is evenly leveled before adding the surface boards.
The longer the span you need to measure, the bigger the level required. If building a large multi-level deck, a 4 foot level is ideal to check level across the length of beams and posts supporting the frame.
Hanging a Gallery Wall
When installing a gallery wall with multiple framed pictures and prints, precision is a must. Ensuring each frame hangs straight is the difference between a professional look or a haphazard display.
A small digital level in the 2-6 inch range allows for accuracy when hanging individual frames. The compact size fits easily on the back of the frame, while still providing an accurate horizontal or vertical readout.
Medium and large digital levels are overkill for this job and will be tough to fit behind frames. Stick with a highly portable small level that slips conveniently into your tool belt.

Installing a Bathroom Vanity
From tiling the backsplash to mounting the mirror and sconces, properly installing a bathroom vanity calls for precision.
For tasks like setting vanity cabinets, a medium digital level in the 6-24 inch range is ideal. The measuring length can span the top of vanity frames to ensure they sit flush on the wall, while still being compact enough to maneuver in tight quarters.
When it comes time to install the counter and sink, a small level comes in handy again for precision placement. Large digital levels are impractical for the tight vanity footprint.
Key Takeaways
- Analyze the surface size you’ll typically need to measure for your DIY projects. This determines the minimum level length required.
- Factor in mobility – the larger the level, the less versatility for moving around a workspace and fitting into tight areas.
- For maximum accuracy across large surfaces, bigger is better. But bigger also means higher cost and less portability.
- For smaller surfaces like individual cabinets or frames, compact digital levels in the 2-6 inch range deliver reliable precision.
No single digital level is perfect for every scenario. Evaluate your toolkit and think about the types of materials and projects you take on most. With those needs in mind, select the appropriately sized digital level and you’ll be set up for success on your next DIY endeavour!

Frequently Asked Questions:
Q: I’m building a treehouse. What size digital level should I use?
A: For large scale projects like building a treehouse, a long 4 foot digital level is your best bet. This allows you to check that the platform beams are perfectly level across 8 foot spans or longer. The extra-long measuring length will also be useful if installing a wraparound deck.
Q: Can I use a small digital level if I need to measure a longer surface?
A: It’s not advisable to use a digital level that’s smaller than the surface you need to measure. A small level placed in the centre of a long surface may show level, but the ends could be off. It’s safer to use a level that spans the entire length you need to measure for guaranteed accuracy.
Q: I need to install some wall sconces. Will a medium digital level work?
A: For installing wall sconces and other framed items like mirrors or art, a medium 6-12 inch digital level is just right. The compact size allows you to fit the level against the back of the sconce base, while the measuring length can span the entire fixture to ensure it hangs evenly.
Q: Can I use a digital level outside for brick patio installation?
A: Digital levels are durably constructed to withstand outdoor use, just be sure to get an IP65 waterproofing rating. Large 24 inch+ sizes are great for keeping courses of brick or paver stones even across a patio span. Just avoid banging the level on the hard bricks to prevent damage.
Q: I’m building DIY bookshelves. Is a small level my best pick?
A: Installing bookshelves, cabinets and other furniture is a great application for a small 2-6 inch digital level. Place the compact level across cabinet frames, shelves and table tops as you assemble them to ensure everything is perfectly horizontal or vertical. It’s easy to manoeuvre in tight spaces.


